
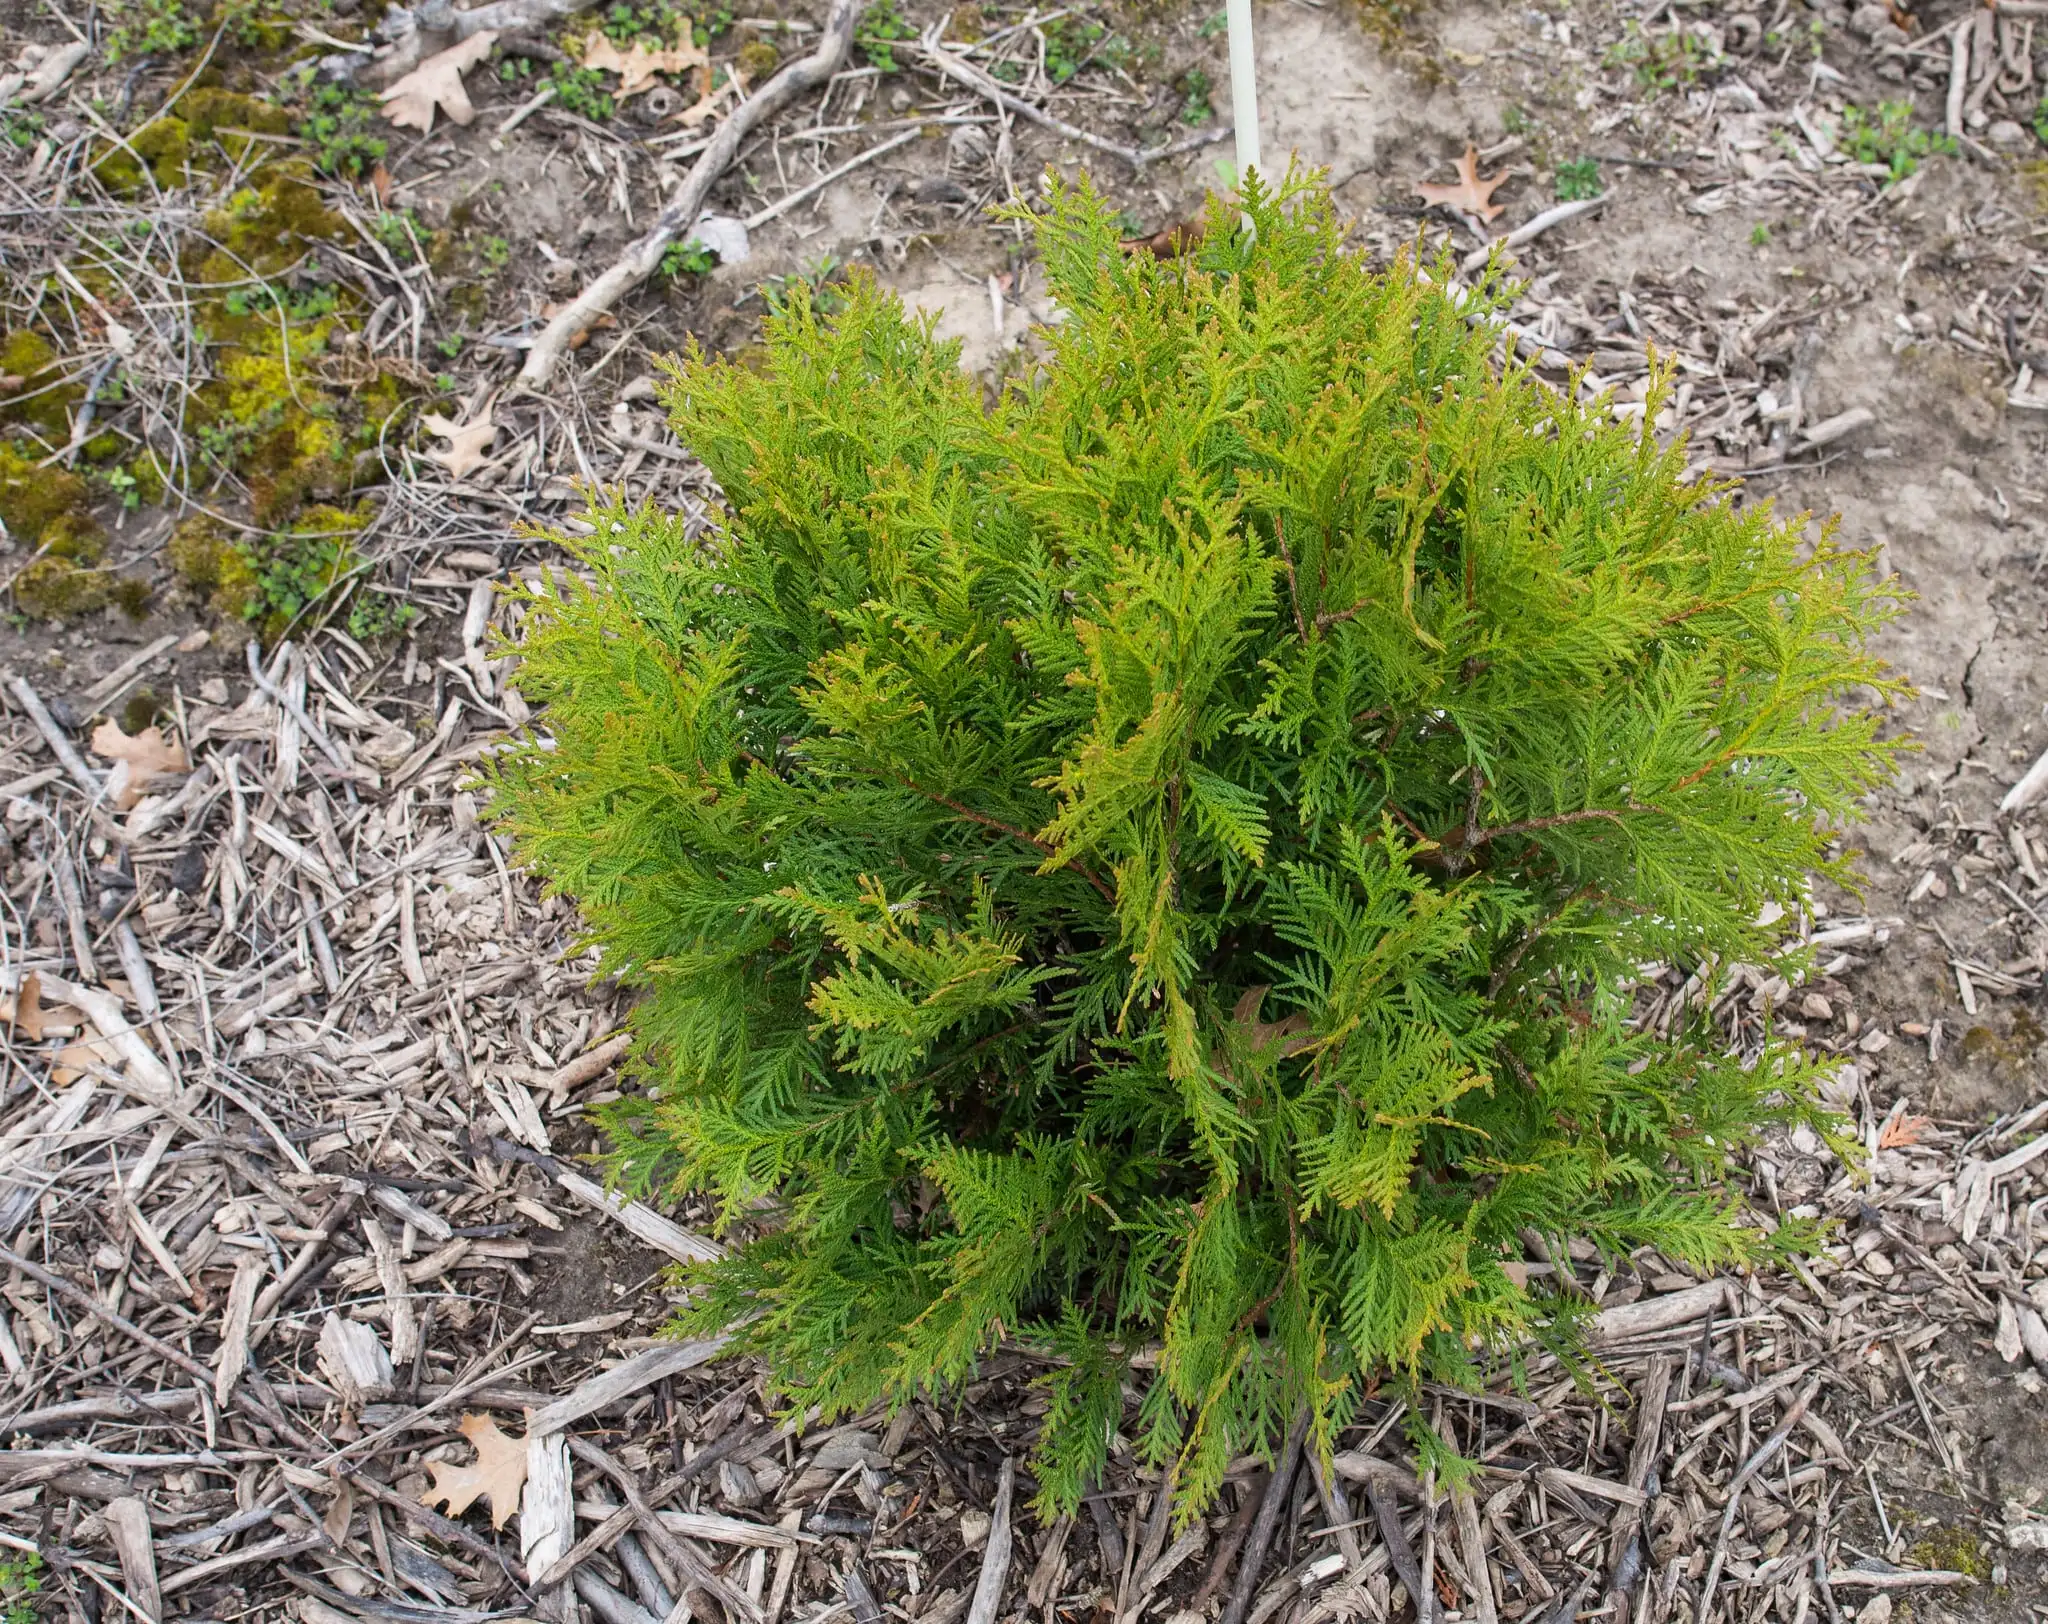
Have you ever looked at your neighbor’s beautiful arborvitae hedge and wished you could have one just like it without breaking the bank? Well, you’re in luck! Growing arborvitae from cuttings is not only possible but also surprisingly straightforward.
In this comprehensive guide, I’ll walk you through everything you need to know about propagating these versatile evergreens, from selecting the right cuttings to nurturing them into healthy new plants.
What You’ll Need for Successful Arborvitae Propagation
Before we dive into the step-by-step process, let’s gather our supplies. Having everything ready will make the propagation process smooth and efficient:
- Clean, sharp pruning shears
- Small pots (4-6 inches in diameter)
- High-quality potting mix or rooting medium
- Rooting hormone powder or gel
- Clear plastic bags or humidity dome
- Water spray bottle
- Plant markers and pen
- Clean work surface
For best results, I recommend using a quality rooting hormone. While not strictly necessary, it can significantly improve your success rate. My personal favorites that have consistently delivered great results are:
Clonex Rooting Gel (Amazon)
Garden Safe Take Root Rooting Hormone (Amazon)
Selecting the Perfect Time and Cuttings
Best Time to Take Arborvitae Cuttings
While you can technically propagate arborvitae throughout the growing season, timing can significantly impact your success rate. Here’s what I’ve found works best:
- Late summer to early fall (August to September) – Optimal time
- Late spring (after new growth appears) – Good alternative
- Winter (December to February) – Possible but requires more care
Choosing the Right Cuttings
The quality of your cuttings plays a crucial role in successful propagation. Here’s what to look for:
- Length: 4-6 inches is ideal
- Age: Current year’s growth (soft and pliable)
- Health: Choose vibrant, disease-free branches
- Location: Take cuttings from the plant’s outer portions
- Time of day: Early morning when plants are well-hydrated
Step-by-Step Propagation Guide
1. Preparing Your Cuttings
- Clean your pruning shears with rubbing alcohol
- Take 4-6 inch cuttings from healthy branch tips
- Remove the lower 1-2 inches of foliage
- Make a clean, angled cut at the base
- Keep cuttings moist until planting
2. Setting Up Your Growing Medium
The right growing medium makes a huge difference. I recommend this mix:
- 50% peat moss
- 25% perlite
- 25% coarse sand
Fill your pots leaving 1 inch at the top. Water thoroughly and let drain.
3. Planting Your Cuttings
- Dip the cut end in rooting hormone
- Make a hole in the growing medium
- Insert cutting about 1-2 inches deep
- Gently firm soil around the base
- Space multiple cuttings 2-3 inches apart
4. Creating the Perfect Environment
Success hinges on maintaining the right conditions:
- Temperature: 65-75°F (18-24°C)
- Light: Bright but indirect
- Humidity: 80% or higher
- Moisture: Consistently damp but not waterlogged
For humidity control, use a clear plastic bag or dome over the pots. Remove briefly daily for air circulation.
https://youtu.be/fYVhrZ_L0CI
Caring for Your Rooting Cuttings
Watering Schedule
- First week: Mist daily
- Following weeks: Water when top 1/2 inch feels dry
- Avoid overwatering to prevent rot
Light Requirements
Position your cuttings where they’ll receive:
- Morning sun or bright filtered light
- Protection from harsh afternoon sun
- 14-16 hours of light daily
Common Problems and Solutions
Watch for these issues:
- Yellowing foliage
- Cause: Usually overwatering
- Solution: Reduce watering, improve drainage
- Brown tips
- Cause: Too much direct sun
- Solution: Move to more filtered light
- Slow growth
- Cause: Insufficient humidity
- Solution: Check seal on humidity dome
Transplanting Successfully Rooted Cuttings
When to Transplant
You’ll know your cuttings have rooted when:
- New growth appears at tips (usually 6-8 weeks)
- Gentle tugging meets resistance
- Roots visible through drainage holes
Transplanting Process
- Prepare larger pots or garden bed
- Water cuttings thoroughly before moving
- Handle by root ball, not stem
- Plant at same depth as in propagation pot
- Water well and mulch if outdoors
Frequently Asked Questions
How long do arborvitae cuttings take to root?
Typically 6-8 weeks, though some varieties may take up to 12 weeks. Patience is key!
How do you grow arborvitae from a branch?
Follow the steps outlined above, focusing on selecting healthy, current-year growth and maintaining proper humidity and moisture levels.
Can you root evergreen cuttings in water?
While possible, soil propagation typically yields better results for arborvitae. Water rooting often leads to weaker root systems.
How long can you keep cuttings before planting?
For best results, plant cuttings within 12 hours of taking them. If necessary, store wrapped in damp paper towels in the refrigerator for up to 24 hours.
Tips for Long-Term Success
- Start more cuttings than you need
- Label varieties and dates
- Monitor humidity levels daily
- Be patient – good roots take time
- Maintain consistent conditions
Remember, propagating arborvitae is a rewarding process that requires attention to detail and patience. With proper care and the right conditions, you’ll be well on your way to growing your own beautiful arborvitae plants.


