

Caring for peppermint plants is rewarding and straightforward, whether you’re growing them indoors or out. This versatile herb thrives with proper watering, sunlight, and occasional pruning.
To care for peppermint plants, provide moist but well-draining soil, plenty of sunlight, regular harvesting, and containment to prevent spreading. With the right care, you’ll enjoy an abundant supply of fragrant leaves for culinary and medicinal uses year-round.
How to Care for Peppermint Plants: A Complete Guide
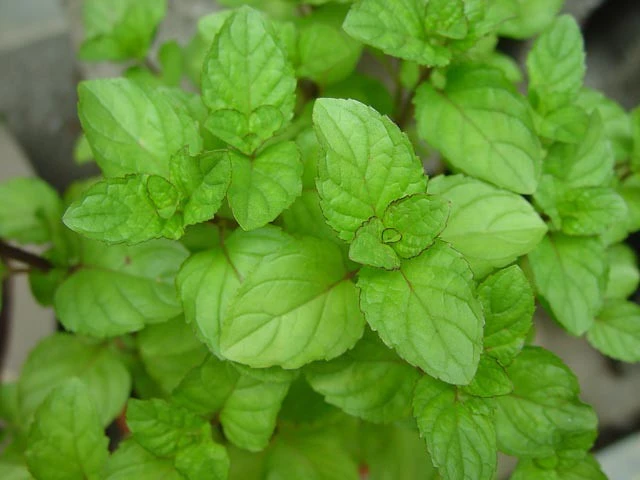
Peppermint (Mentha x piperita) is a hardy, fast-growing perennial herb prized for its refreshing flavor and aroma. Whether you’re cultivating peppermint for its culinary uses, medicinal properties, or simply to enjoy its invigorating scent, proper care is essential for a thriving plant.
This comprehensive guide will walk you through everything you need to know about caring for peppermint plants, from planting to harvesting.
Choosing the Right Peppermint Variety
Before diving into care techniques, it’s important to select the right peppermint variety for your needs. While there are hundreds of mint varieties, here are some popular peppermint options:
- Black Peppermint (Mentha x piperita ‘Black Mitcham’)
- Chocolate Mint (Mentha x piperita f. citrata ‘Chocolate’)
- Variegated Peppermint (Mentha x piperita ‘Variegata’)
- Blue Peppermint (Mentha x piperita ‘Blue’)
Each variety has unique characteristics in terms of flavor intensity, aroma, and appearance. Choose based on your intended use and personal preferences.
Planting Peppermint: Getting Started
Peppermint can be grown from seeds, cuttings, or by division of existing plants. Let’s explore each method:
How to Grow Peppermint from Seed
- Start seeds indoors 8-10 weeks before the last frost date.
- Use a seed starting mix and sow seeds 1/4 inch deep.
- Keep soil moist and warm (around 70°F).
- Seeds should germinate in 7-14 days.
- Once seedlings have several sets of true leaves, transplant outdoors after the danger of frost has passed.
How to Grow Peppermint from Cuttings
- Take 4-6 inch stem cuttings from a healthy peppermint plant.
- Remove lower leaves, leaving 2-3 sets at the top.
- Place cuttings in water or moist potting soil.
- Keep in a warm, bright location out of direct sunlight.
- Roots should develop in 1-2 weeks.
- Once roots are established, transplant to their permanent location.
Dividing Existing Plants
- Dig up an established peppermint plant in early spring or fall.
- Gently separate the root ball into smaller sections, ensuring each has healthy roots and stems.
- Replant divisions immediately, spacing them 18-24 inches apart.
Ideal Growing Conditions for Peppermint
To ensure your peppermint plants thrive, provide them with the right growing conditions:
Soil Requirements
- Well-draining, fertile soil
- pH between 6.0 and 7.0
- Rich in organic matter
Sunlight Needs
- Full sun to partial shade
- 4-6 hours of direct sunlight daily is ideal
Temperature and Humidity
- Hardy in USDA zones 3-11
- Prefers temperatures between 55-70°F
- Tolerates high humidity
Watering Your Peppermint Plant
Proper watering is crucial for healthy peppermint growth. Here’s how to get it right:
- Keep soil consistently moist but not waterlogged
- Water deeply once or twice a week, depending on climate and soil conditions
- Increase watering frequency during hot, dry periods
- Reduce watering in winter for outdoor plants
How often should I water my peppermint plant?
The frequency of watering depends on various factors such as climate, soil type, and whether the plant is grown indoors or outdoors. As a general rule:
- Outdoor plants: Water 1-2 times per week, or when the top inch of soil feels dry
- Indoor plants: Water when the top inch of soil is dry, typically every 3-5 days
- Container plants: May require more frequent watering, especially in hot weather
Fertilizing Peppermint Plants
Peppermint doesn’t require heavy fertilization, but a little nutrient boost can promote lush growth:
- Apply a balanced, water-soluble fertilizer monthly during the growing season
- Use organic options like compost tea or fish emulsion for a natural approach
- Avoid over-fertilizing, as it can reduce the concentration of essential oils in the leaves
Pruning and Harvesting Peppermint
Regular pruning and harvesting encourage bushy growth and prevent plants from becoming leggy:
- Begin harvesting when plants are 6-8 inches tall
- Cut stems back by up to 2/3 their height, just above a leaf node
- Harvest before flowering for the best flavor
- Prune regularly throughout the growing season to maintain shape and promote new growth
Containing Peppermint’s Spread
Peppermint is known for its aggressive spreading habit. To keep it under control:
- Plant in containers or raised beds
- Use root barriers in garden beds
- Remove runners and divide plants regularly
- Consider growing in buried pots to restrict root spread
Overwintering Peppermint Plants
In most regions, peppermint is a hardy perennial that can survive winter outdoors:
- Cut back stems to 1-2 inches above ground after the first frost
- Apply a 2-3 inch layer of mulch around the base of the plant
- In very cold areas, consider covering plants with a layer of straw or leaves
For container plants:
- Move pots to a protected area or unheated garage
- Reduce watering but don’t allow soil to dry out completely
- In spring, gradually reintroduce plants to outdoor conditions
Common Peppermint Plant Problems and Solutions
While peppermint is generally hardy, it can face some issues:
- Rust: Orange-yellow spots on leaves Solution: Remove affected leaves, improve air circulation, avoid overhead watering
- Powdery Mildew: White, powdery coating on leaves Solution: Improve air circulation, avoid overhead watering, apply fungicide if severe
- Spider Mites: Tiny pests causing stippled leaves Solution: Increase humidity, spray with water or insecticidal soap
- Root Rot: Wilting, yellowing leaves due to overwatering Solution: Improve drainage, reduce watering frequency
Companion Planting with Peppermint
Peppermint can be a beneficial companion plant, but its aggressive nature means careful placement is crucial:
Good Companions:
- Brassicas (cabbage, broccoli, kale)
- Peas
- Squash
- Tomatoes
Plants to Avoid:
- Other herbs (peppermint may outcompete them)
- Parsley
- Chamomile
Strongest Smelling Peppermint Plants
For those seeking the most aromatic peppermint varieties, consider:
- Black Peppermint (Mentha x piperita ‘Black Mitcham’)
- Chocolate Mint (Mentha x piperita f. citrata ‘Chocolate’)
- Candymint (Mentha x piperita ‘Candymint’)
These varieties are known for their intense fragrance and high essential oil content.
Indoor Peppermint Plant Care
How do you care for a peppermint plant indoors?
Growing peppermint indoors allows you to enjoy fresh leaves year-round. Here’s how to care for indoor peppermint plants:
- Light: Place near a south-facing window for 4-6 hours of bright, indirect light daily
- Temperature: Maintain temperatures between 65-70°F
- Humidity: Mist leaves regularly or use a pebble tray to increase humidity
- Soil: Use well-draining potting mix
- Watering: Keep soil consistently moist but not waterlogged
- Fertilizing: Feed with diluted liquid fertilizer monthly during growing season
- Pruning: Pinch back regularly to encourage bushy growth
- Pest control: Inspect regularly for common indoor pests like spider mites or aphids
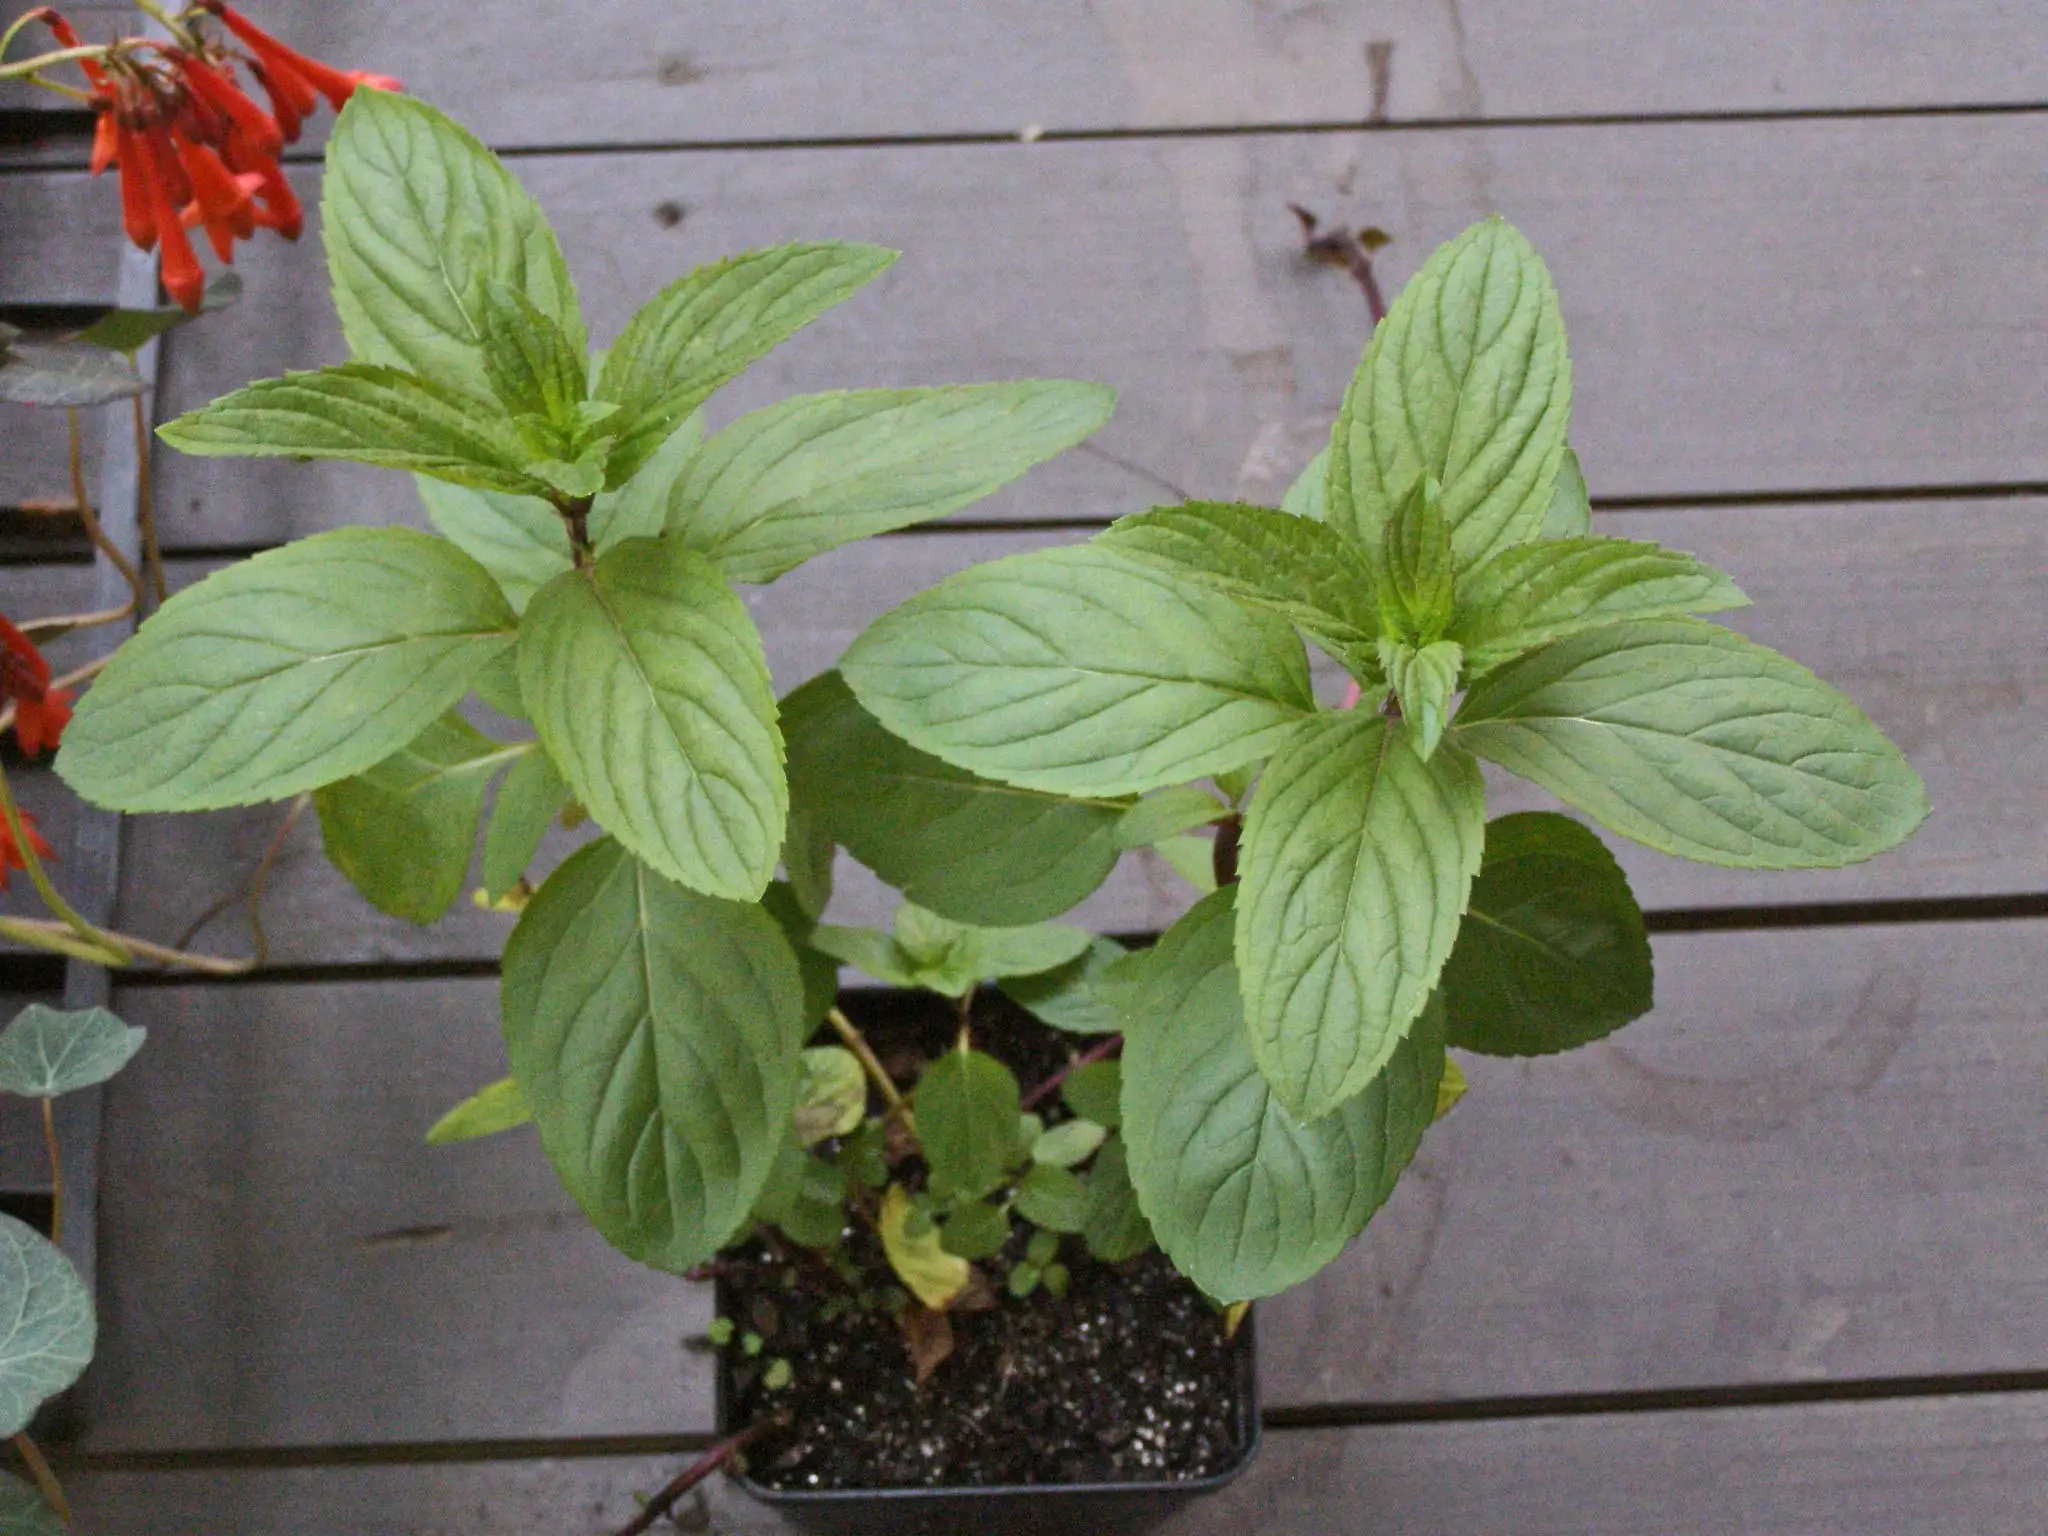
How to care for potted peppermint?
Potted peppermint requires similar care to indoor plants, with a few additional considerations:
- Choose a pot with drainage holes to prevent waterlogging
- Use a pot at least 12 inches deep to accommodate the plant’s root system
- Repot annually or when the plant becomes root-bound
- Water more frequently than in-ground plants, especially during hot weather
- Provide afternoon shade if grown outdoors to prevent leaf scorch
- Protect from extreme temperatures by moving containers indoors or to a sheltered location
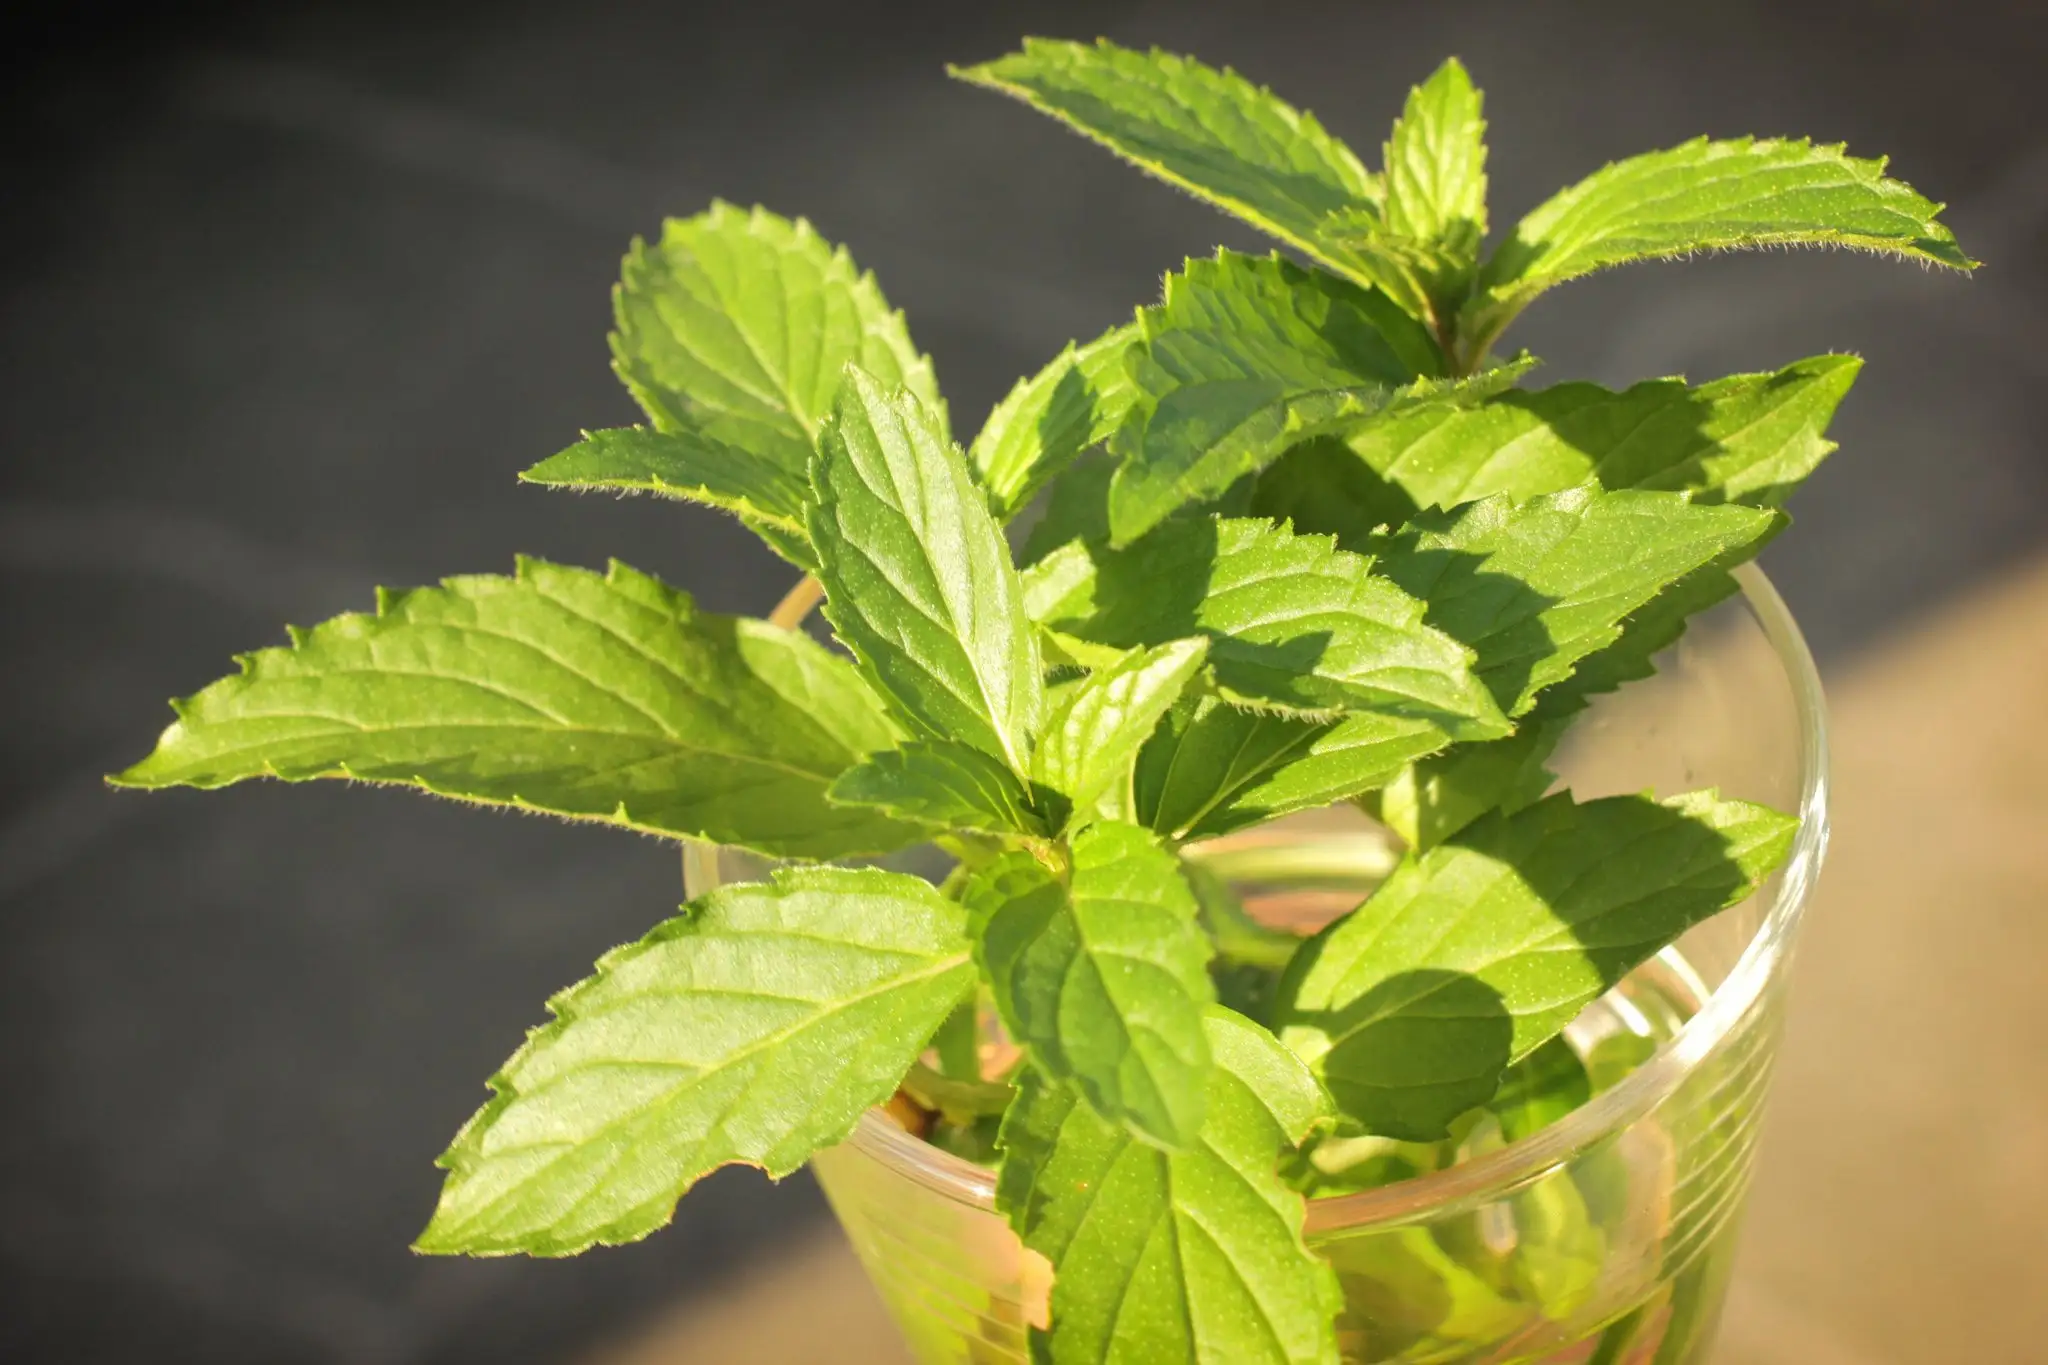
Harvesting and Using Peppermint
To make the most of your peppermint plant, harvest and use the leaves properly:
Harvesting Tips:
- Harvest in the morning after dew has dried but before the heat of the day
- Cut stems just above a leaf node to encourage bushier growth
- For best flavor, harvest just before flowering
Uses for Peppermint:
- Culinary: Add to teas, cocktails, salads, and desserts
- Medicinal: Use in teas or tinctures for digestive issues or headaches
- Aromatherapy: Add essential oil to diffusers or bathwater
- Pest control: Place sprigs around the home to deter mice and insects
Preserving Peppermint:
- Drying: Hang bundles in a warm, dry place away from direct sunlight
- Freezing: Freeze whole leaves or in ice cubes for later use
- Infusing: Create peppermint-infused oils or vinegars
Do peppermint plants like sun or shade?
Peppermint plants prefer partial shade to full sun. While they can tolerate full sun in cooler climates, in hot regions, some afternoon shade is beneficial to prevent leaf scorching. The ideal balance is:
- 4-6 hours of direct morning sunlight
- Dappled or partial shade in the afternoon, especially in hot climates
- Protection from intense midday sun in very hot areas
This light exposure ensures robust growth and optimal oil production without stressing the plant.
Conclusion
Caring for peppermint plants is a rewarding experience that yields a bountiful harvest of fragrant, versatile leaves. By providing the right growing conditions, regular maintenance, and proper harvesting techniques, you can enjoy a thriving peppermint plant that enhances your garden, kitchen, and wellness routines.
Whether you’re growing peppermint indoors, in containers, or in your garden, these care tips will help you cultivate healthy, aromatic plants year after year


